Shaving Legs

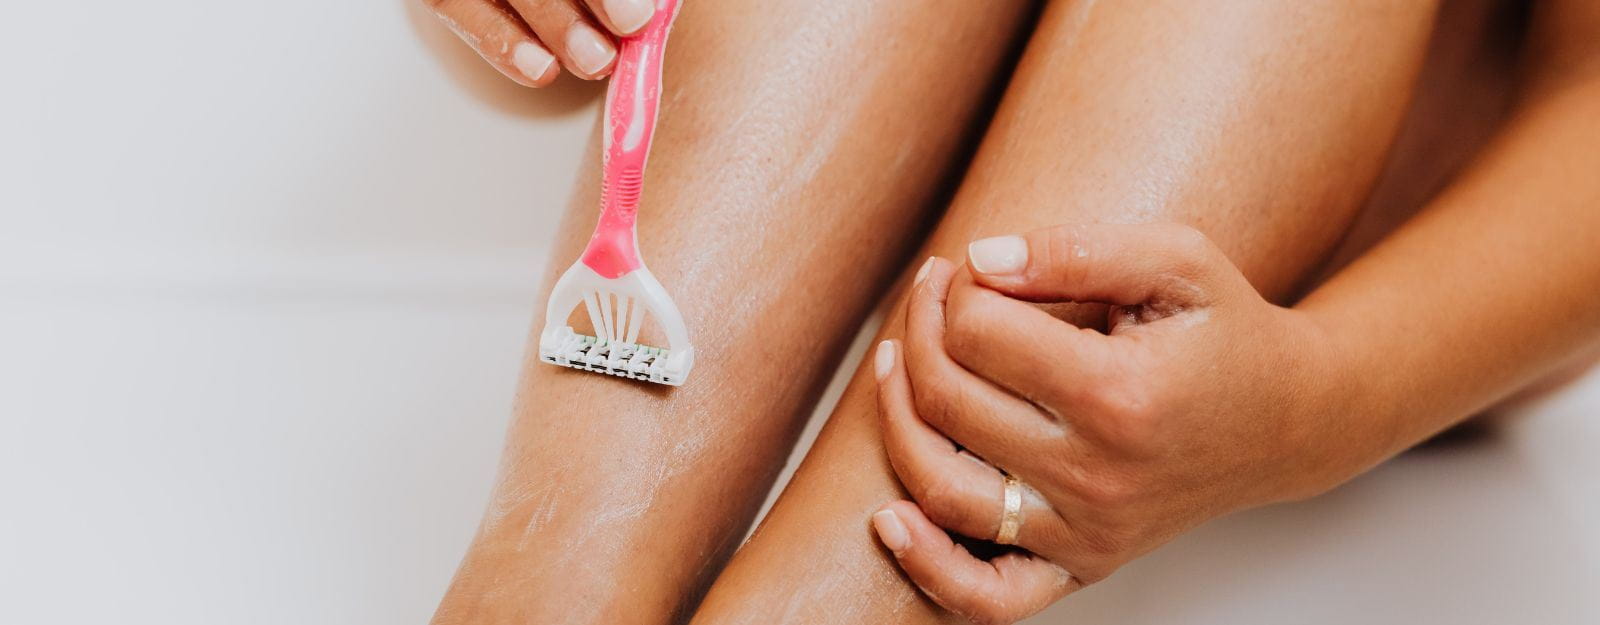
How To Get Rid of Shaving Rash or Razor Burn

Want a close shave without the razor rash and burn? We've got the 5 simple steps to get you soft, smooth legs.

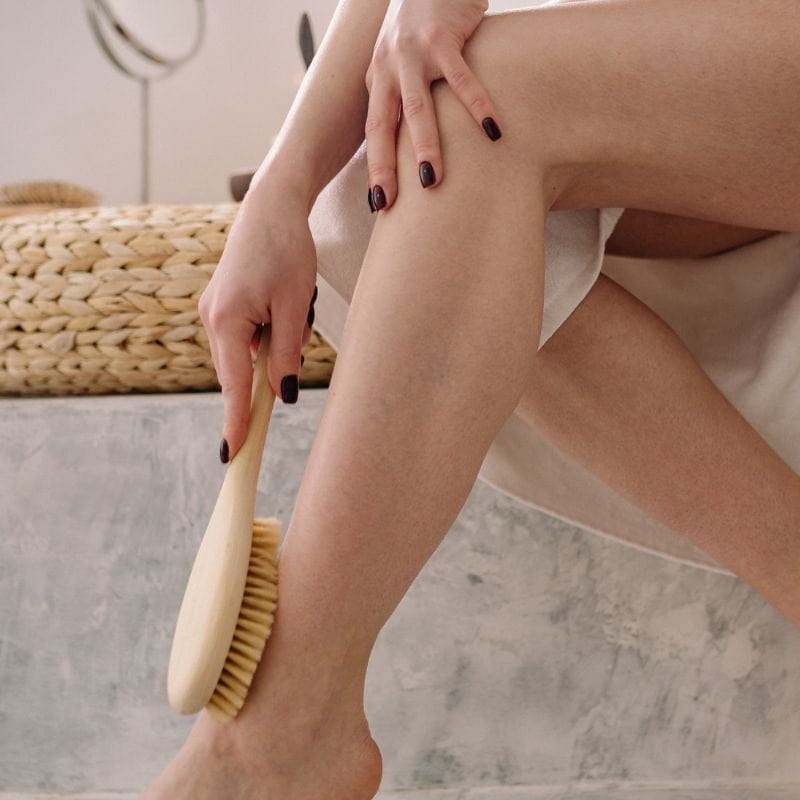
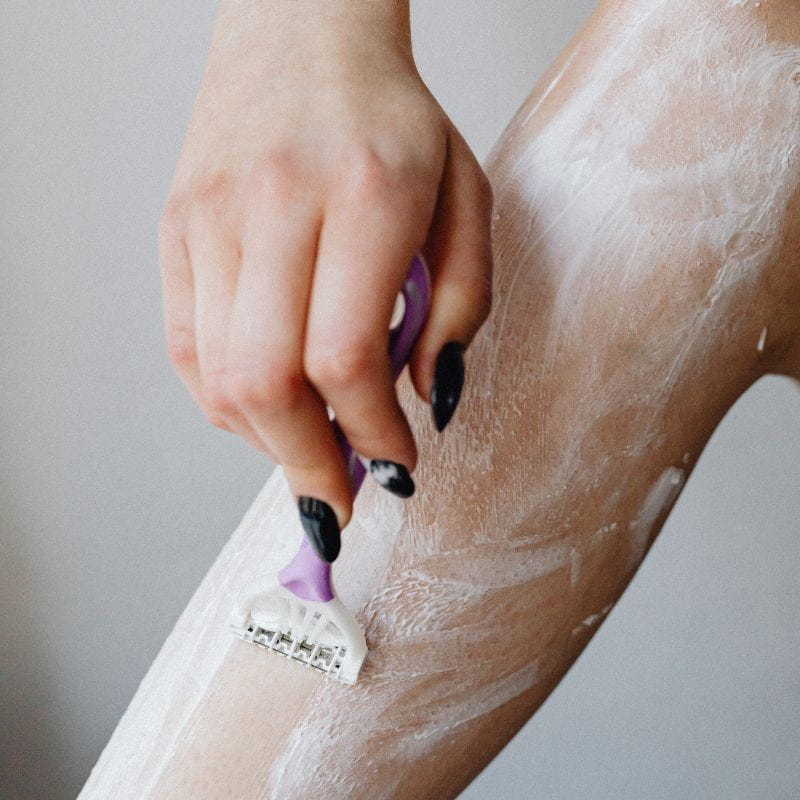
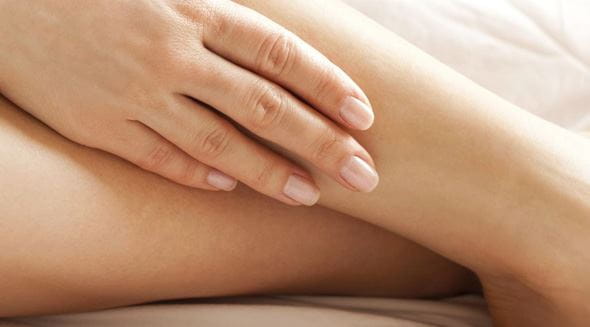
5 Steps to Prevent Shaving Rash

Shaving rash sometimes known as razor burn can be painful and annoying. It is a type of skin irritation that occurs on the skin after shaving. It usually appears after a few minutes but can also develop a little later in the day if you're wearing tight clothes, or if the skin is exposed to the elements. Shaving rash is not the same as razor bumps. Razor bumps are caused by lots of little in-grown hairs rather than the rash from the razor.. Whether you're trying to treat a harsh case of shaving rash or just trying to avoid it altogether try NIVEA's 5 steps.

STEP 1: EXFOLIATE YOUR BODY

Exfoliate
Prep the area you plan on shaving. You don't want to shave over a build-up of rough, dead skin cells or dirt/oil left over from the day. It's best to use an exfoliating cloth or mitt to scrub away the dead skin. Read our how to exfoliate guide for more information, and try our NIVEA Daily Essentials Gentle Exfoliating Scrub to clear away debris and ensure you avoid shaving rash and open pores so that ingrown hairs don't become a problem.

STEP 2: SOFTEN YOUR HAIRS

Bath
Trying to shave right after exfoliating might seem like the next step but there are more steps to go especially if you want to prevent shaving rash. Ensure you soften hairs by using warm water in a bath, shower or with a flannel so the skin expands making it easier to shave.

STEP 3: USE SHAVING CREAM, GEL OR FOAM

Shaving Cream
The key to a good shave is lubricant, avoid the body wash and use a proper shaving cream, gel or foam to avoid irritation which can cause razor burn or shaving rash and ensure the closest shave possible.

STEP 4: SHAVE... IN THE RIGHT DIRECTION

Underarm
It's important when you're shaving to know which way to shave. On your legs you want the closest possible shave, this is against the grain making sure you have the smoothest possible legs. Don't apply too much pressure as this can cause shaving rash. However, in more sensitive areas like the bikini line or your underarms, it's important not to shave against the grain as the sensitive skin can get irritated and lead to ingrown hairs as well as make it harder to avoid razor burn.

STEP 5: POST-SHAVE CARE

Post-shave care is key to avoid shaving rash, especially shaving rash on legs and other sensitive areas. Ensure you rinse your recently shaved area with cold water to close up the pores. Then use a lotion or moisturiser designed for sensitive skin, as perfumed products can irritate skin further and cause redness. It's also key to swap your razor blades when you notice them becoming dull and definitely before any signs of rust.

Read more hair removal tips here >

Moisturise

IF YOU ALREADY HAVE SHAVING RASH IT CAN BE A PAIN TO GET RID OF, BUT NIVEA ARE HERE TO HELP

Cold Compress:
As soon as you notice the emerging signs of razor burn its best to address it straight away. Use a cold compress to soothe shaving rash which will stop the burning sensation, reduce redness and prevent shaving bumps from appearing. It also is an effective early method in combating shaving rash..


Hydrate:
Dehydrated skin is more likely to be affected by shaving rash so it's important to always stay hydrated. Moisturising your skin after a shave is important - especially if you see shaving rash coming on. Keeping the skin hydrated is more than just applying moisturiser. Make sure you drink enough water so your skin’s natural protective barrier is strengthened, helping to protect you from shaving rash.


Allow It To Heal:
Shaving rash and razor burn in its various forms should heal on its own. Avoid shaving the affected area again until the skin has recovered and healed. Any redness or inflammation is a sign to not shave the irritated area and to let it heal.

Always read the label. Follow the directions for use.